
Roma Chevron Installation Instructions
45° Miter Geometric Parquet & Center Axis Layout Guide
Pre-Installation Checklist
Keep closed boxes in the target installation room for at least 48 hours at a temperature of 18-24°C and relative humidity of 40-60%.
The subfloor must be dry, clean, structurally sound, and level. Any unevenness greater than 2mm per 1 meter run must be leveled.
A PE vapor barrier film (min 0.2mm) is mandatory over concrete. Install acoustic underlayment perpendicular to the parquet plank direction.
Acquire spacers to maintain a 10mm expansion gap along all walls, pipes, thresholds, and fixed vertical structures.
Print Note: Installation Video
A complete step-by-step video demonstration of the Chevron 45° installation technique is available on the digital version of this document at https://bellafloorgroup.com/en/products/bfc5010/?installation_guide=1&guide=chevron&lang=en. QR Codes can be scanned on-site to stream.
CRITICAL: Underfloor Heating Requirements
Underfloor heating systems must be turned off 48h before installation and started gradually (5°C increments per day) 48h after installation. Maximum surface temperature must not exceed 27°C.
PROHIBITED: Mechanical Fixation Warning
Laminate flooring is designed to be installed exclusively as a floating floor. Never nail, screw, glue, or rigidly fix the boards to the subfloor or baseboards, as they need to expand and contract.
Installation Step-by-Step Procedure
1. Establishing the Central Column Template
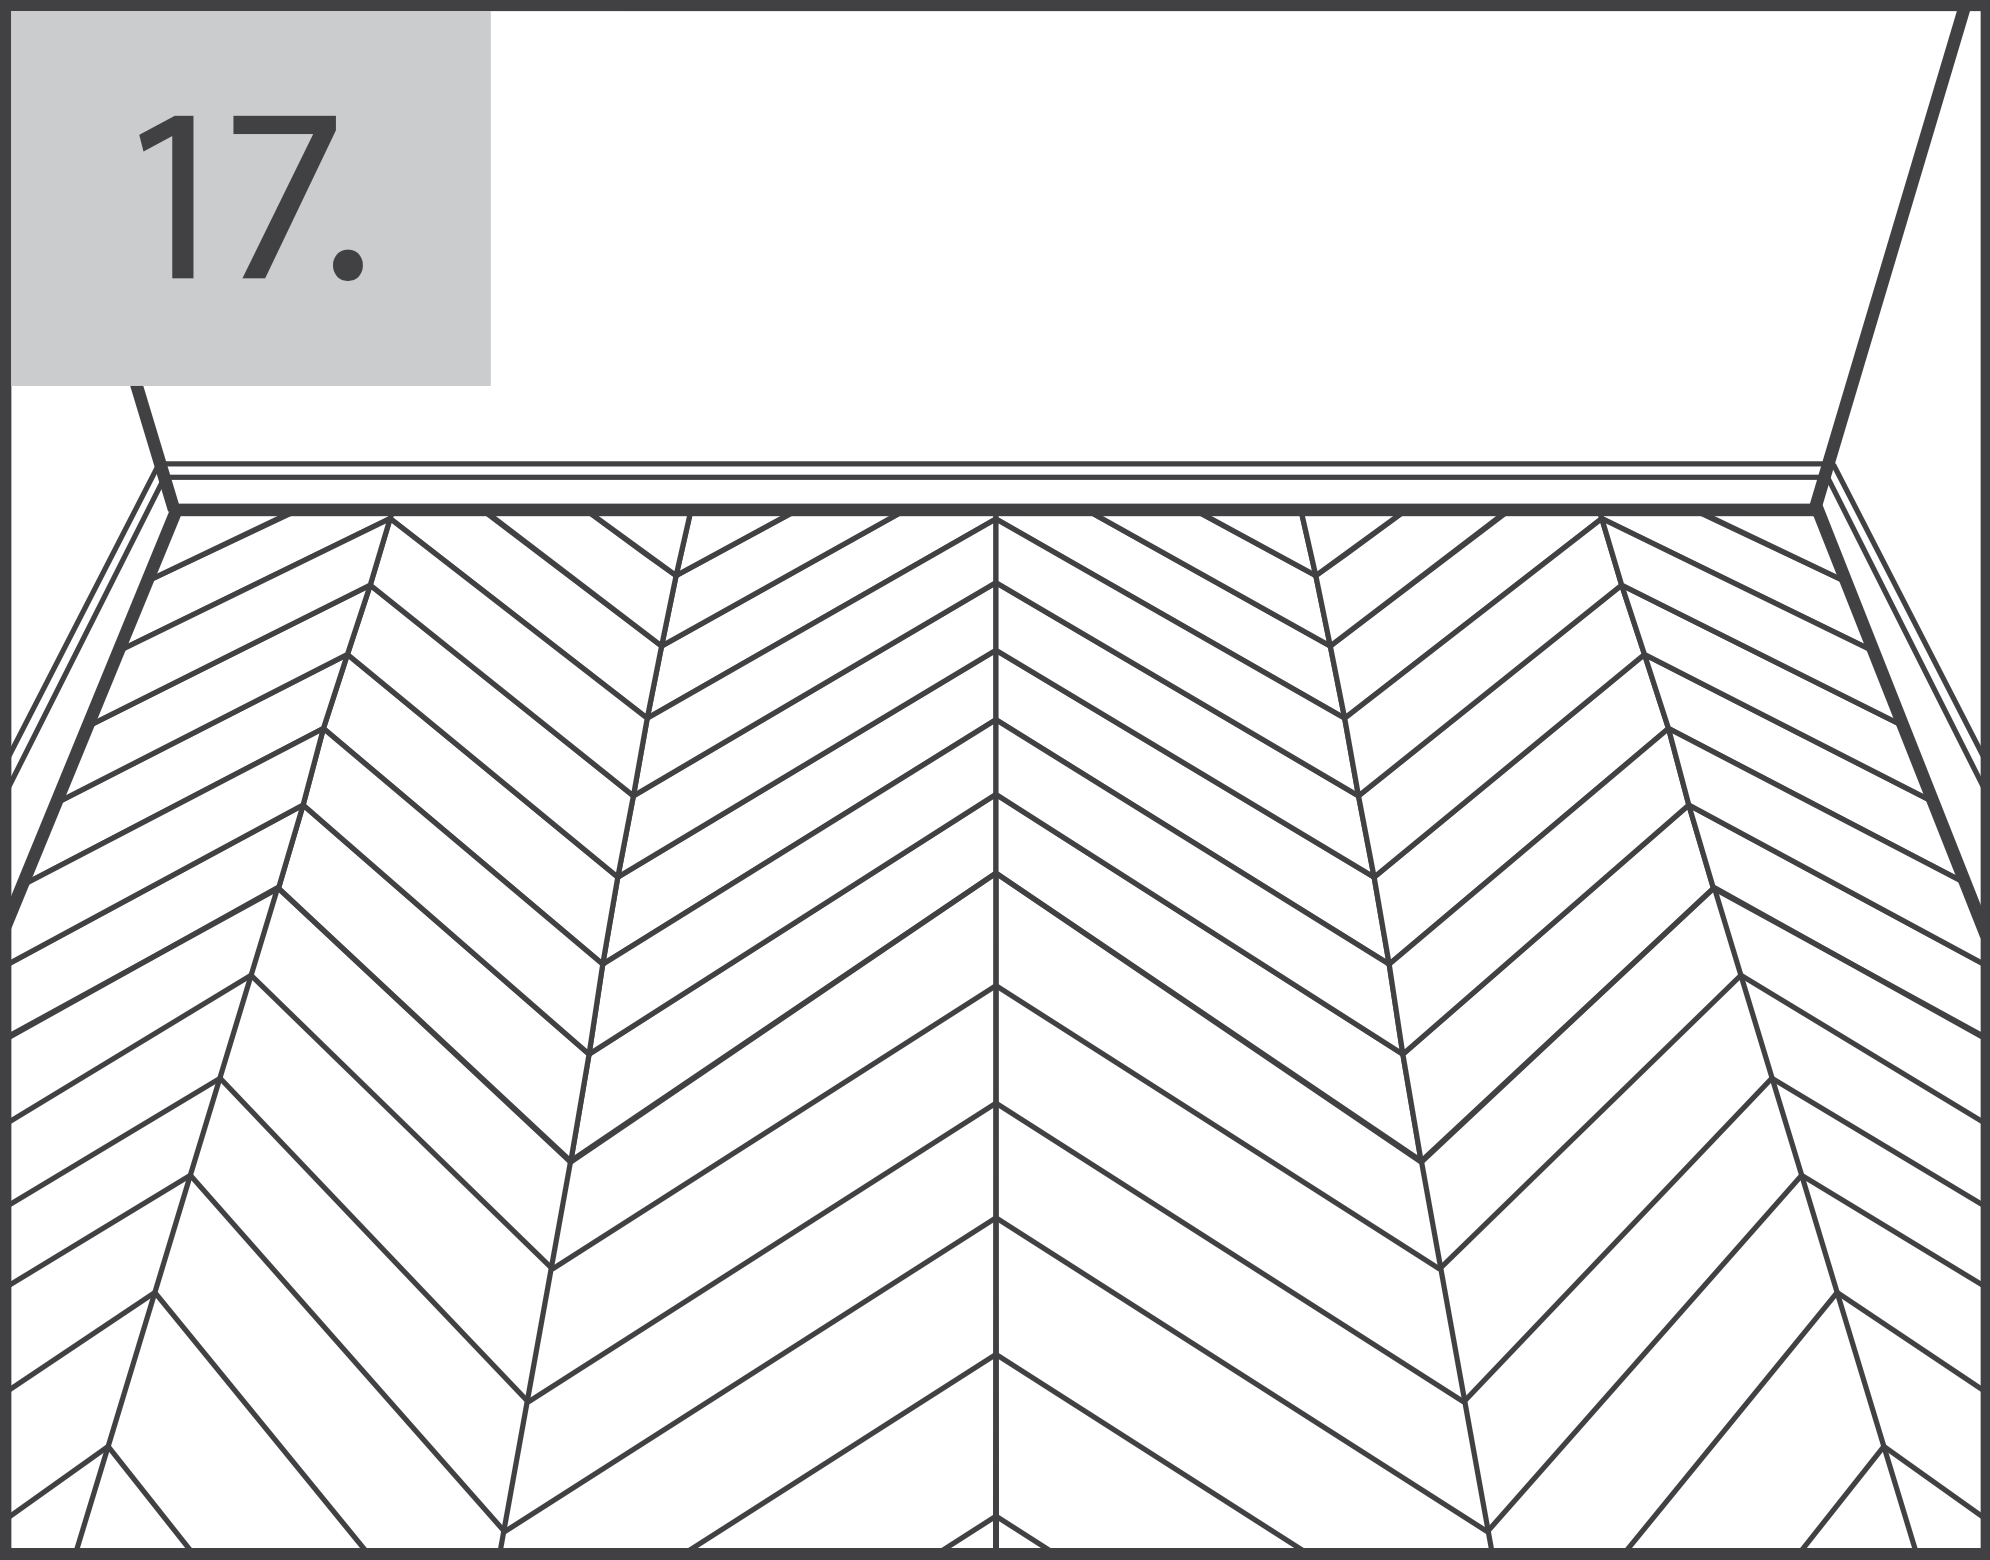
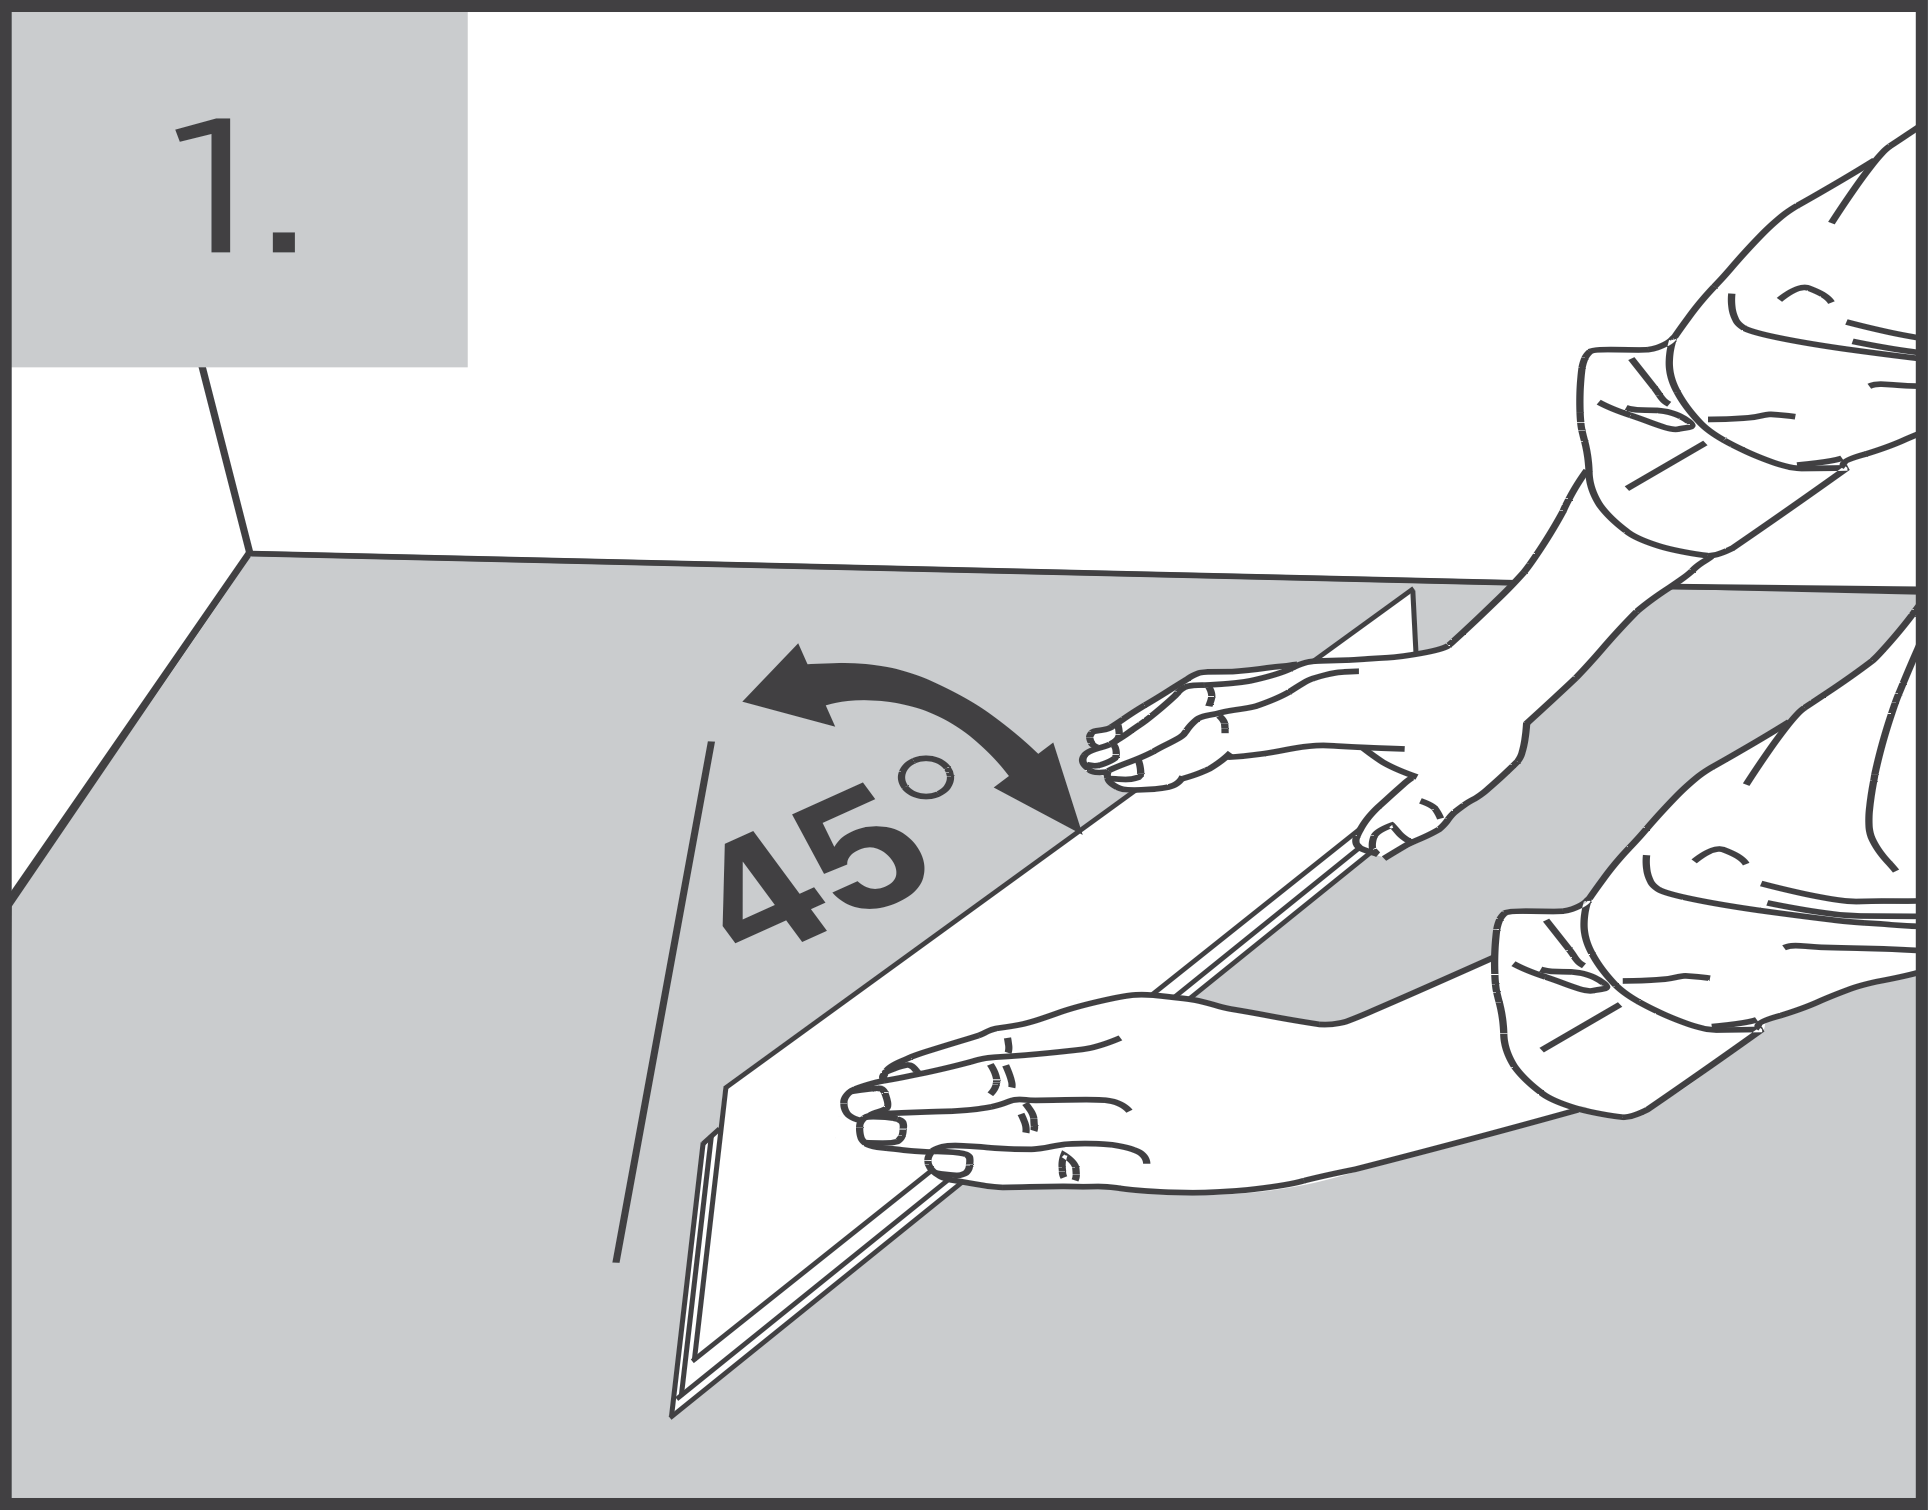
Roma Chevron consists of 45-degree angle boards. Draw a central template line on the underlayment. The points of the Chevron boards must meet precisely on this line.
2. Starting the Row Assembly
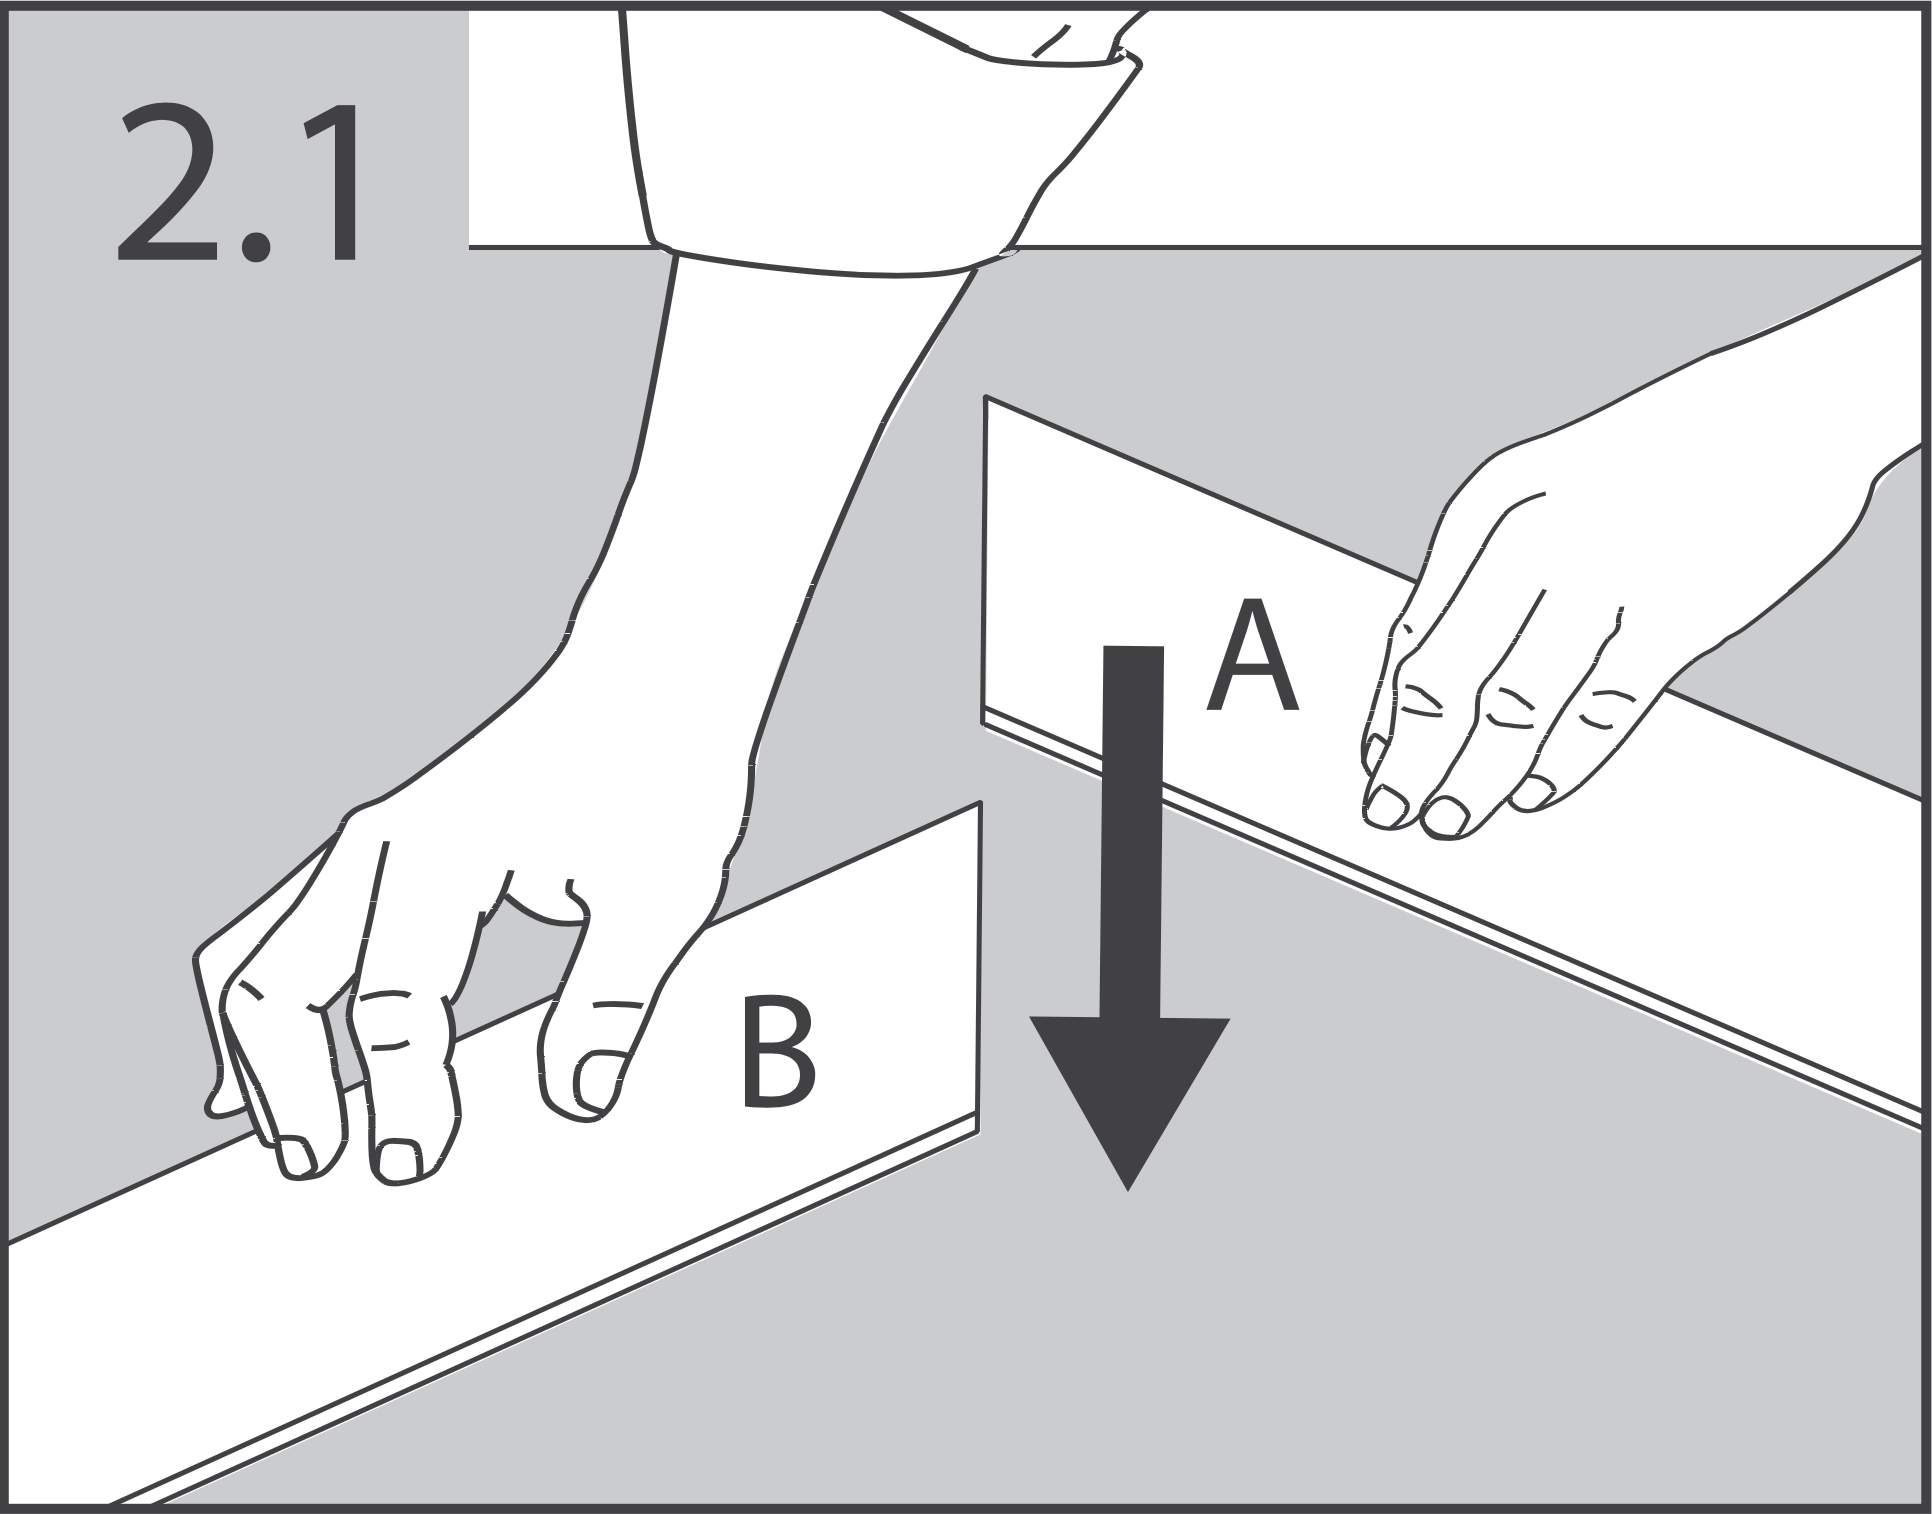
Lay the first row starting along the template line. Chevron planks are mirrored. Join the end joints at 45 degrees, matching Left and Right planks so their points align in a perfect 'V'.
3. Engaging Angle-Angle Click
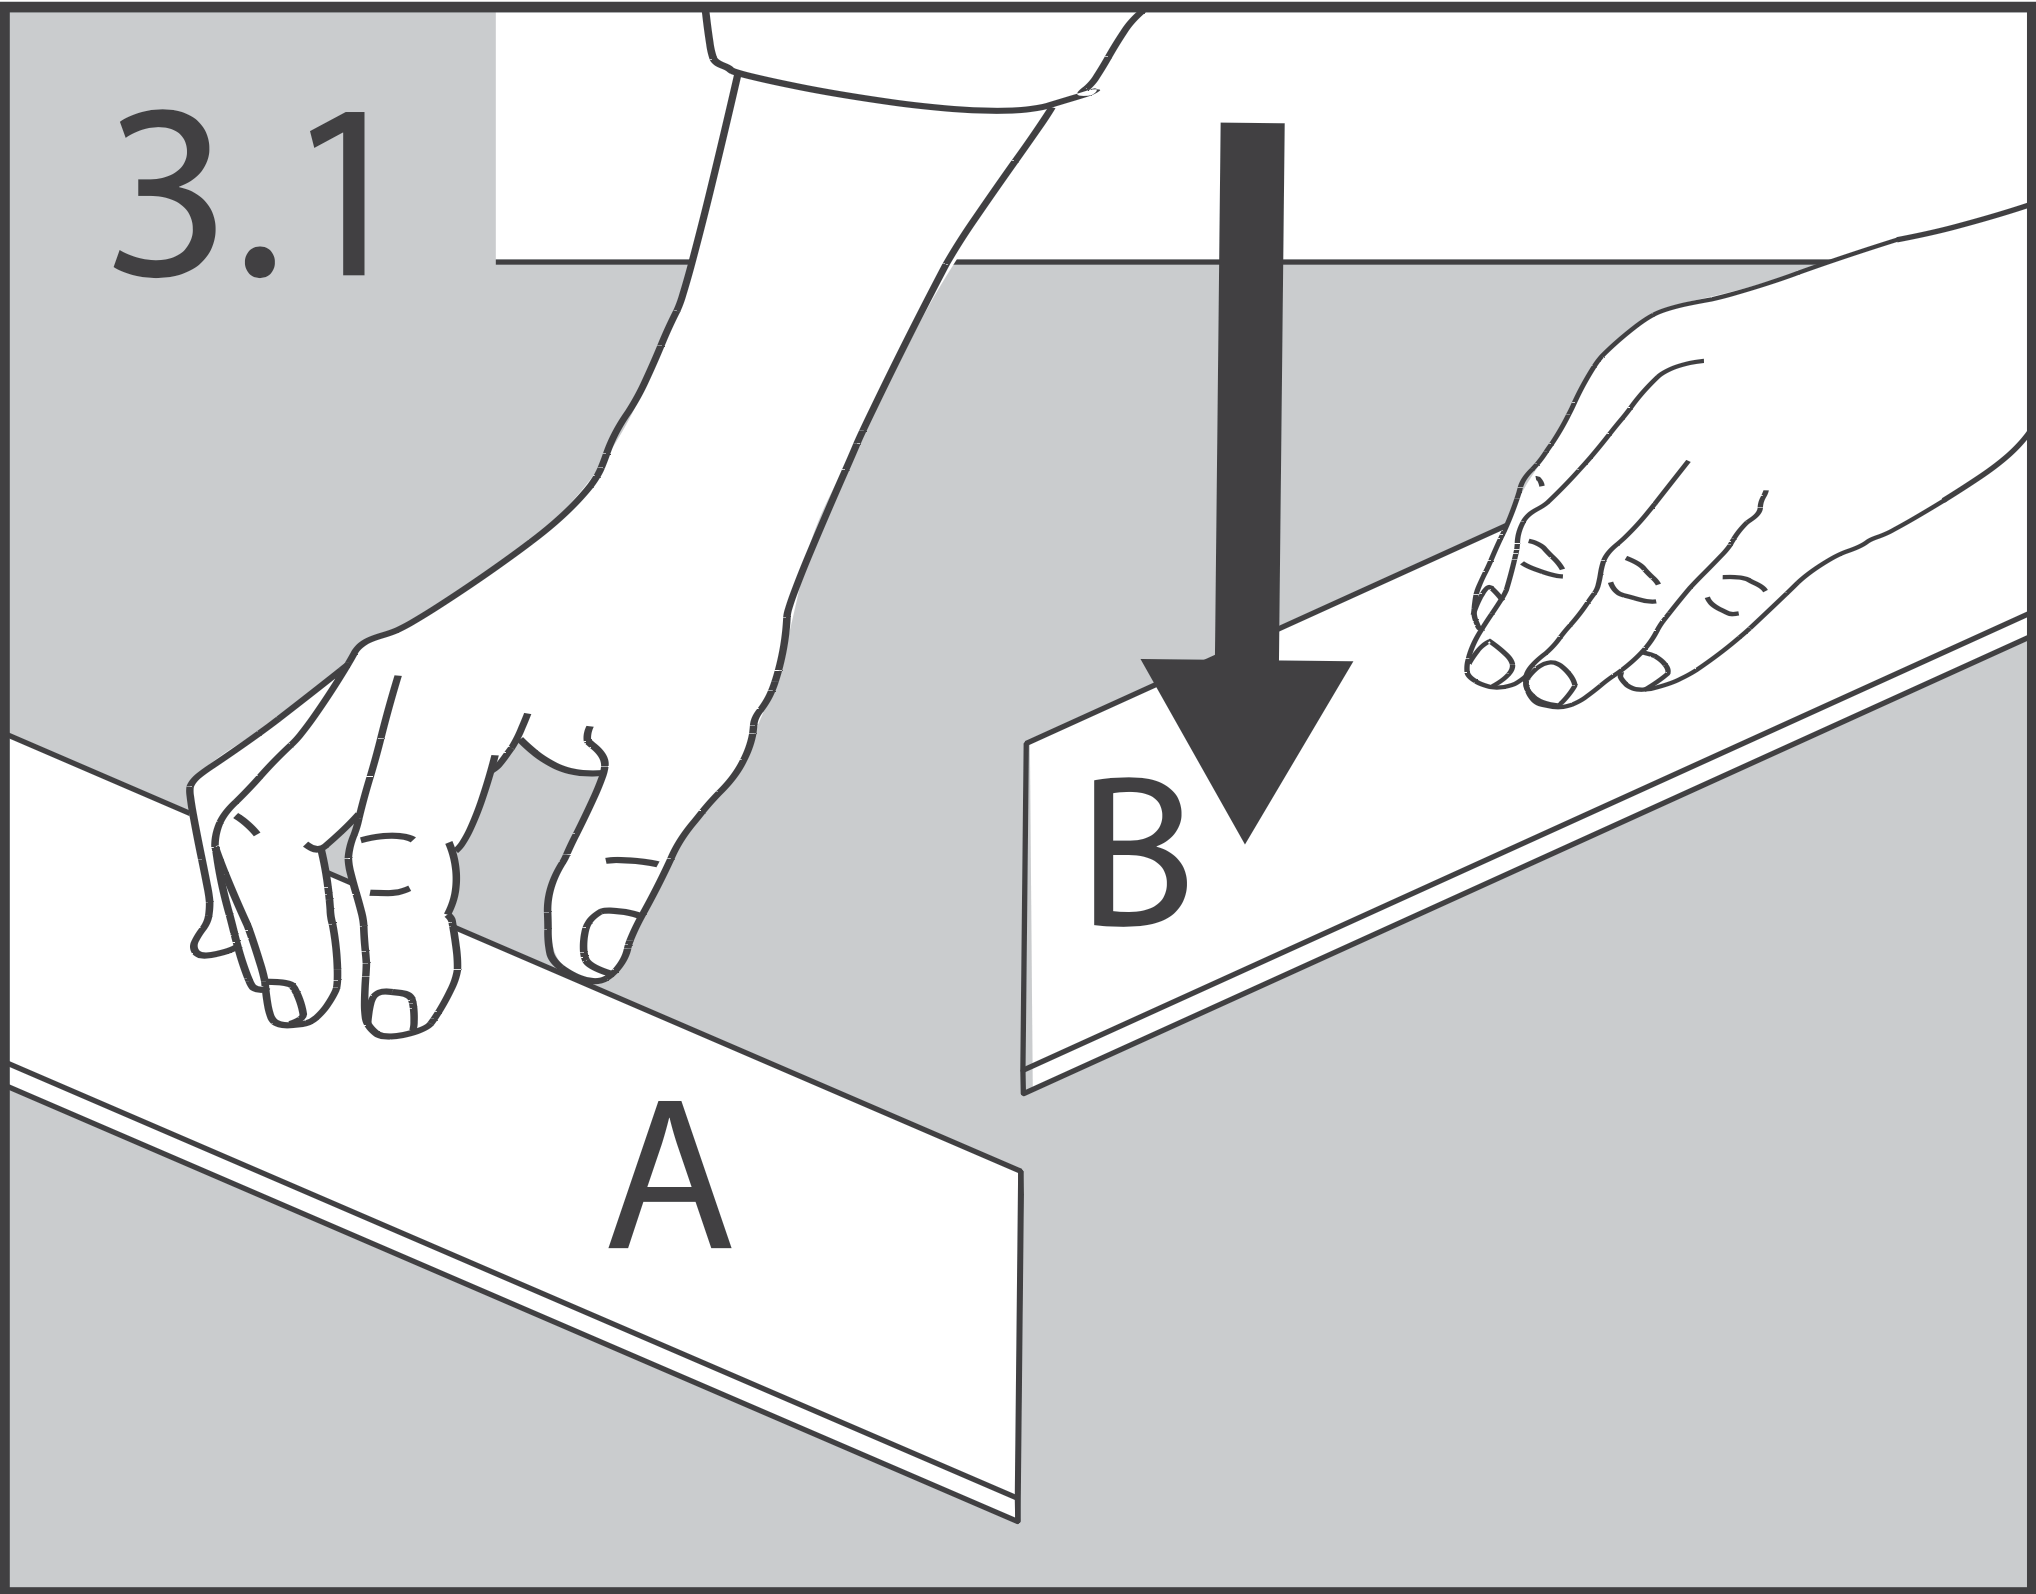
To click Chevron planks, insert the long side at a 20-30° angle, slide it towards the short side joint, and drop it flat. Lightly tap with a tapping block to lock the joints flush.
4. Installing Border Panels
Measure the angle of the wall (typically 90 degrees) and cut the chevron planks accordingly using a miter saw set to 45 degrees. Use a pull-bar to secure cuts tightly against spacers.
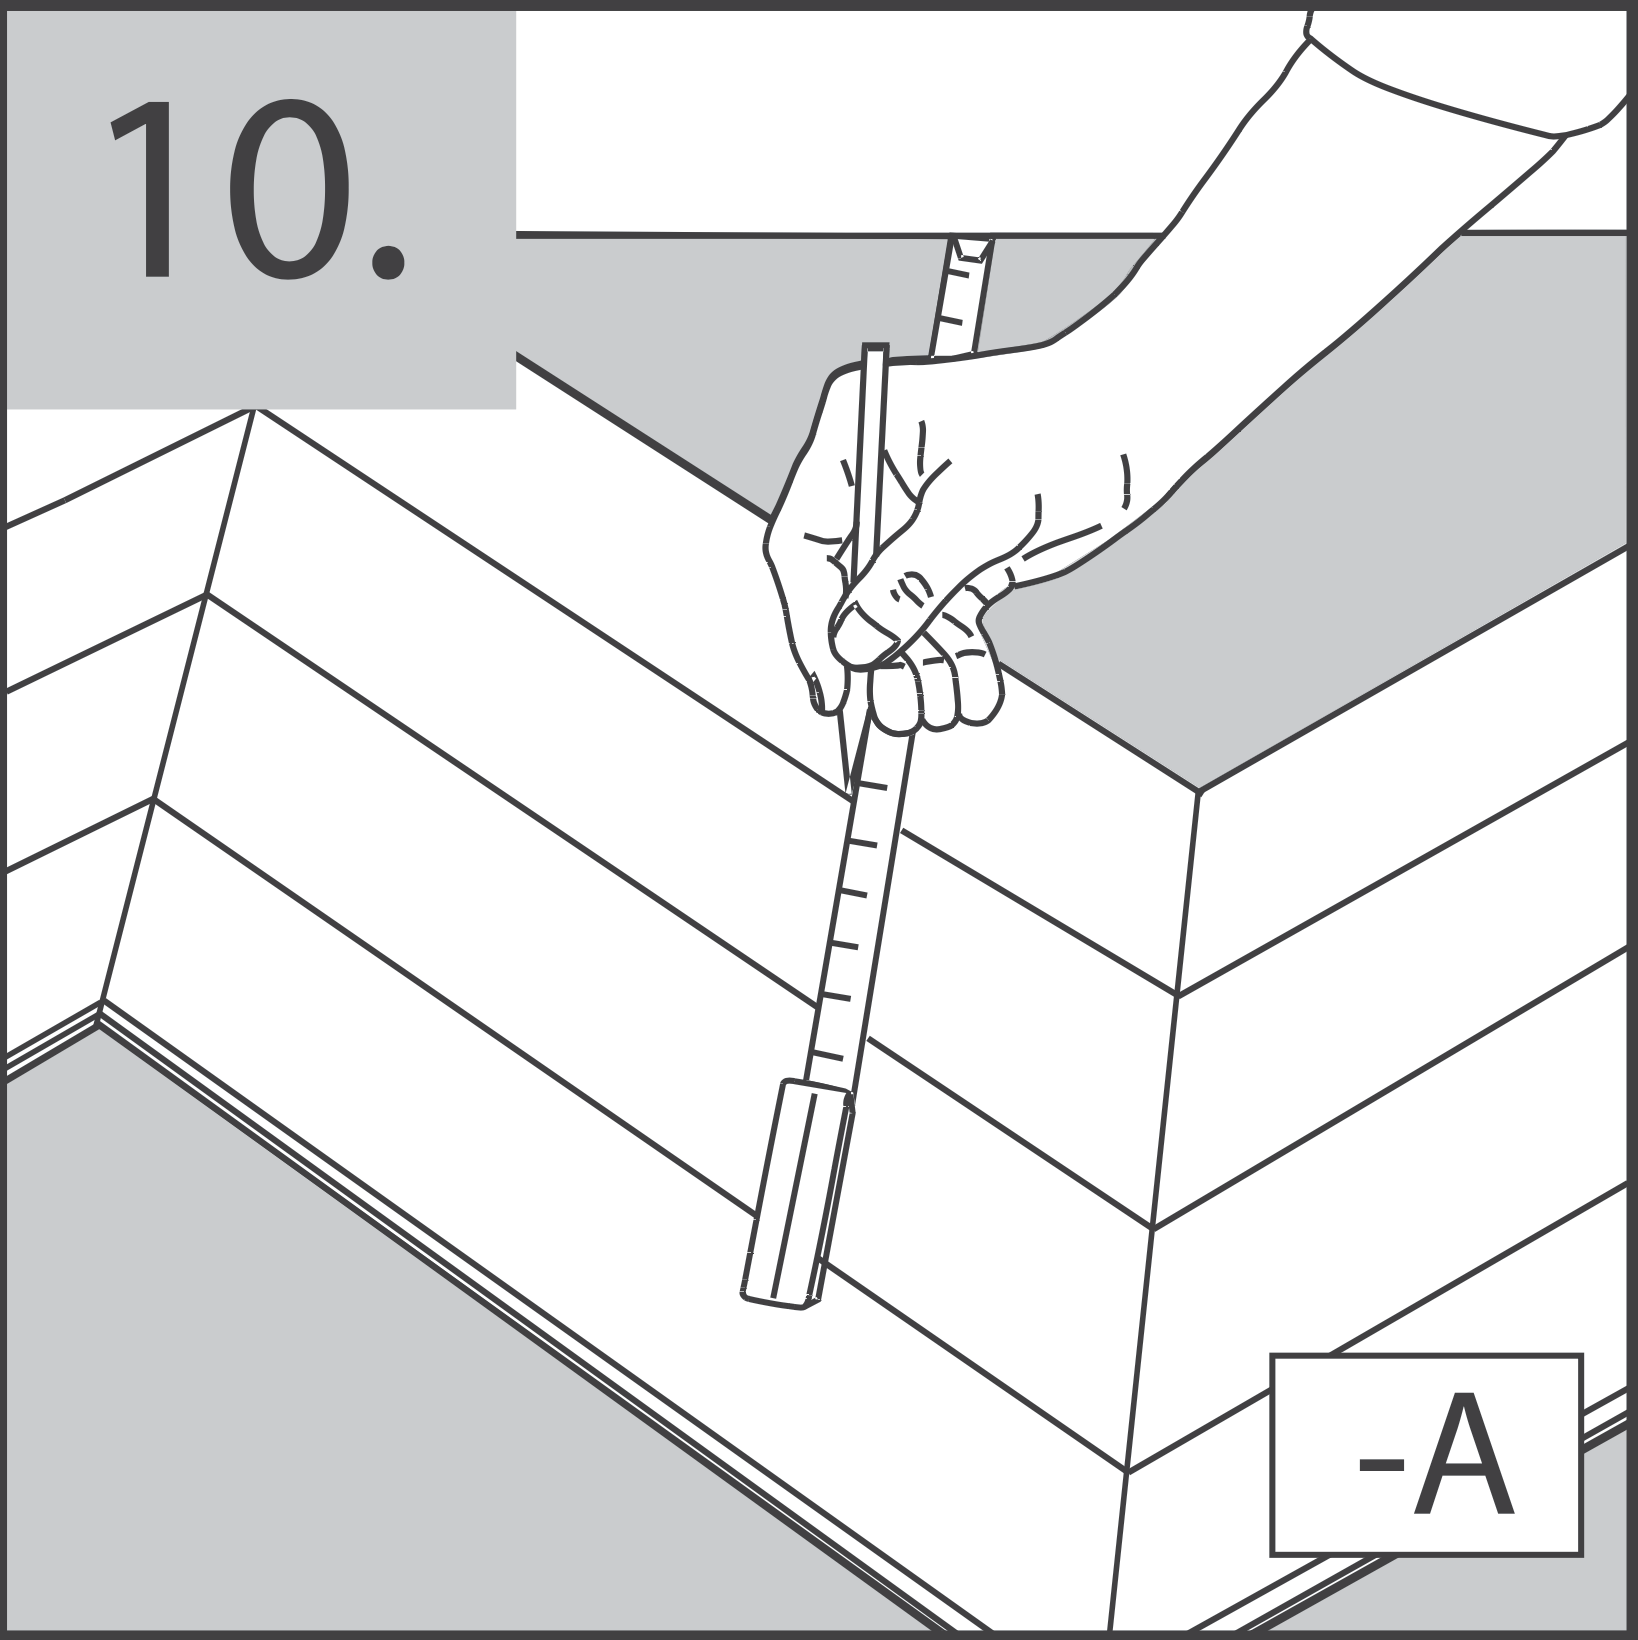
5. Expansion Gaps & Door Thresholds
Maintain a 10mm expansion gap around all walls, door frames, and pipes. Install T-moldings in doorways wider than 8 meters or transitions to other flooring types.
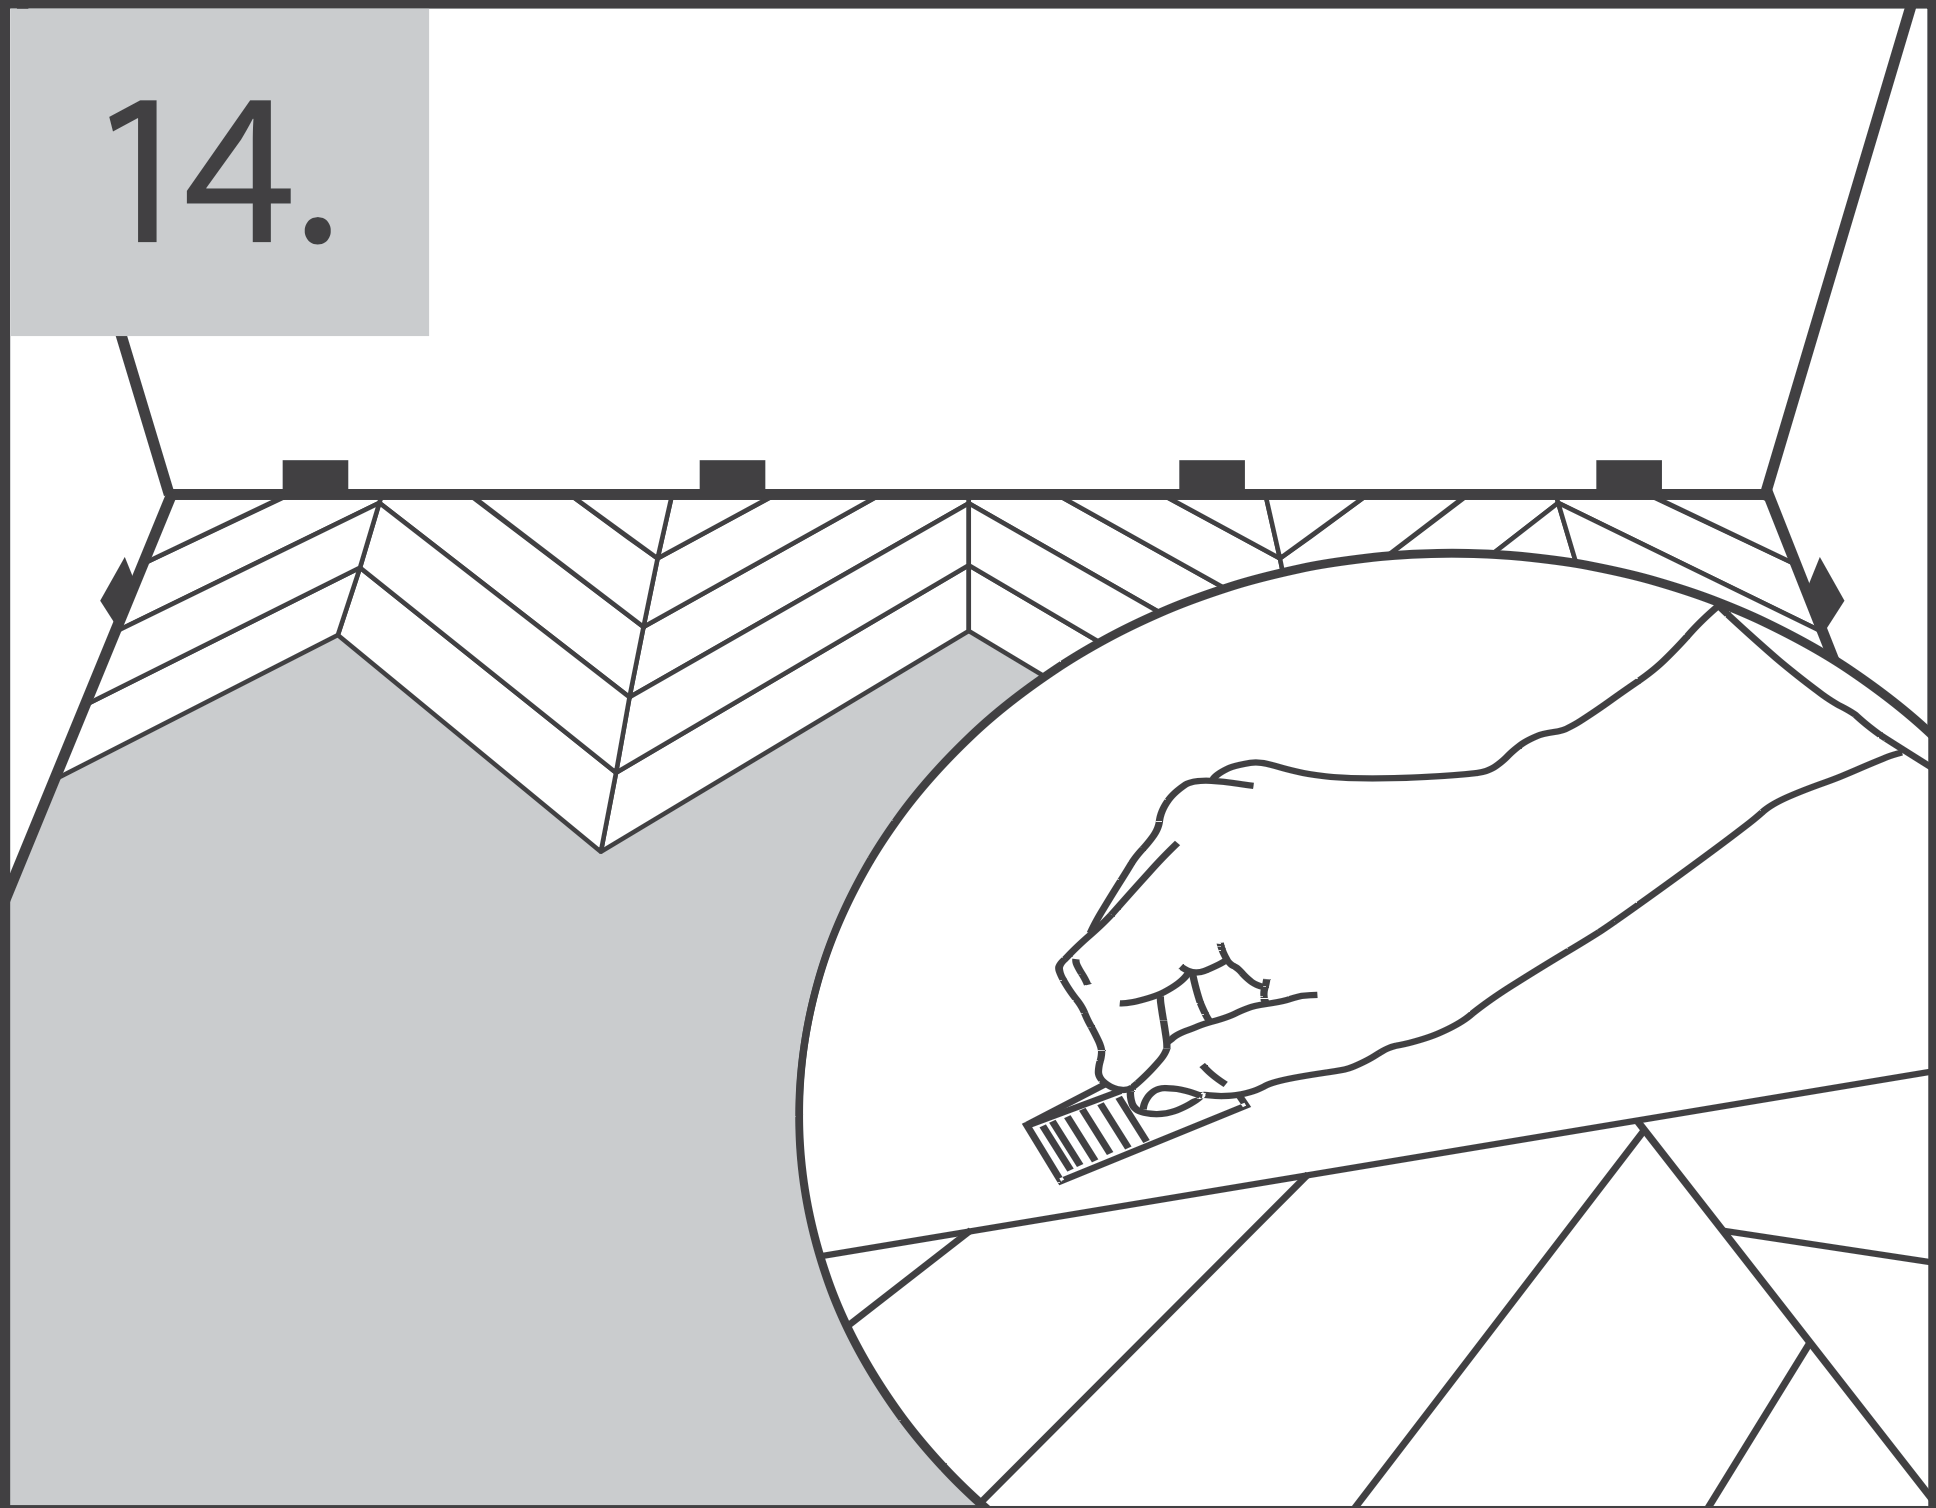
6. Follow the Video Demonstration
Watch the embedded official Chevron installation video above to visually study the angular click technique, starter row squaring, and the correct tapping methodology.
Installation Policy & Warranty
Bella Floor's 30-year residential warranty requires compliance with these official installation manuals. Damage caused by improper subfloor flatness, lack of expansion gaps, or steam mops is not covered.
Technical Support Desk
For detailed commercial project requirements, concrete slab dampness testing reports, or locking profile tolerances, contact our engineering support desk.
For project support, use the official Bella Floor contact page.